🛡️ Deploy Bastion Server with Jumpserver
Jumpserver is a popular open-source bastion host (jump host) solution designed to manage and audit access to servers, databases, and cloud assets securely.
In this guide, we’ll deploy Jumpserver using the official one-line installation, enable HTTPS, and perform initial access to the web console.
This setup implement basic security, for production-ready environments where secure remote access and auditing are required you need change that suits you.
⚙️ Requirements
Before starting, make sure you have:
- A fresh Linux server (x64)
- Root or sudo privileges
- Minimum resources:
- 4 vCPU
- 8 GB RAM
- 20 GB disk
- A domain name (optional but recommended for HTTPS)
- Internet access
🚀 Step-by-Step Installation
📦 1. Update System Packages
Always start with a clean and updated system:
1
sudo apt update && sudo apt upgrade -y
📁 2. Change Directory
Change directory to /opt
⚡ 3. Run Installation Command
Run the command to install the latest open-source version of JumpServer.
1
curl -sSL https://github.com/jumpserver/jumpserver/releases/latest/download/quick_start.sh | bash

Wait until the process is done
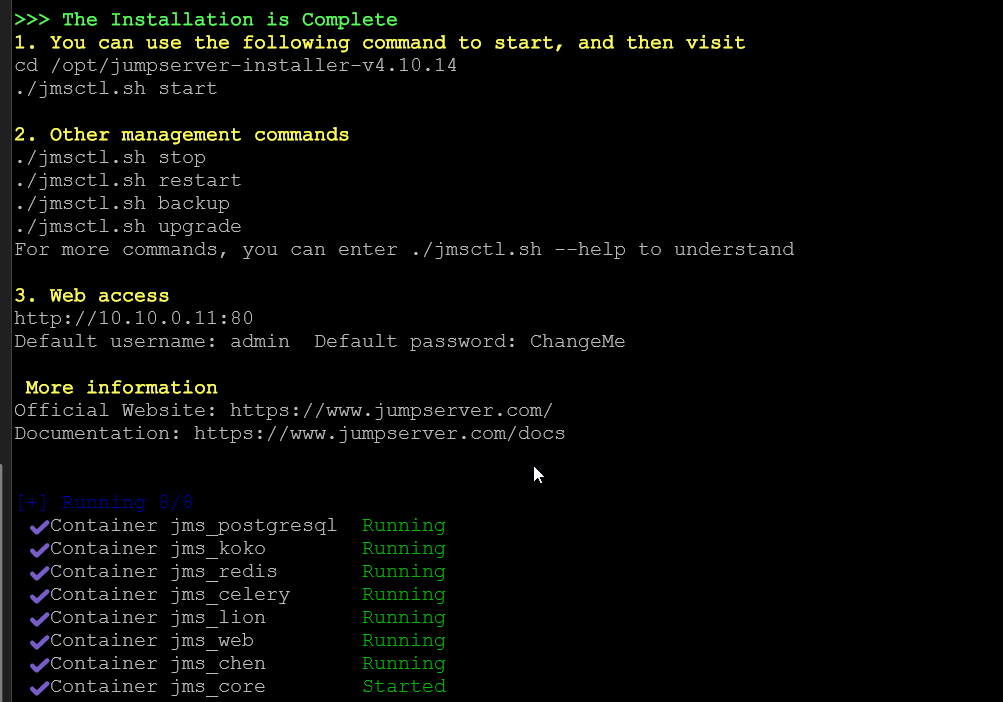
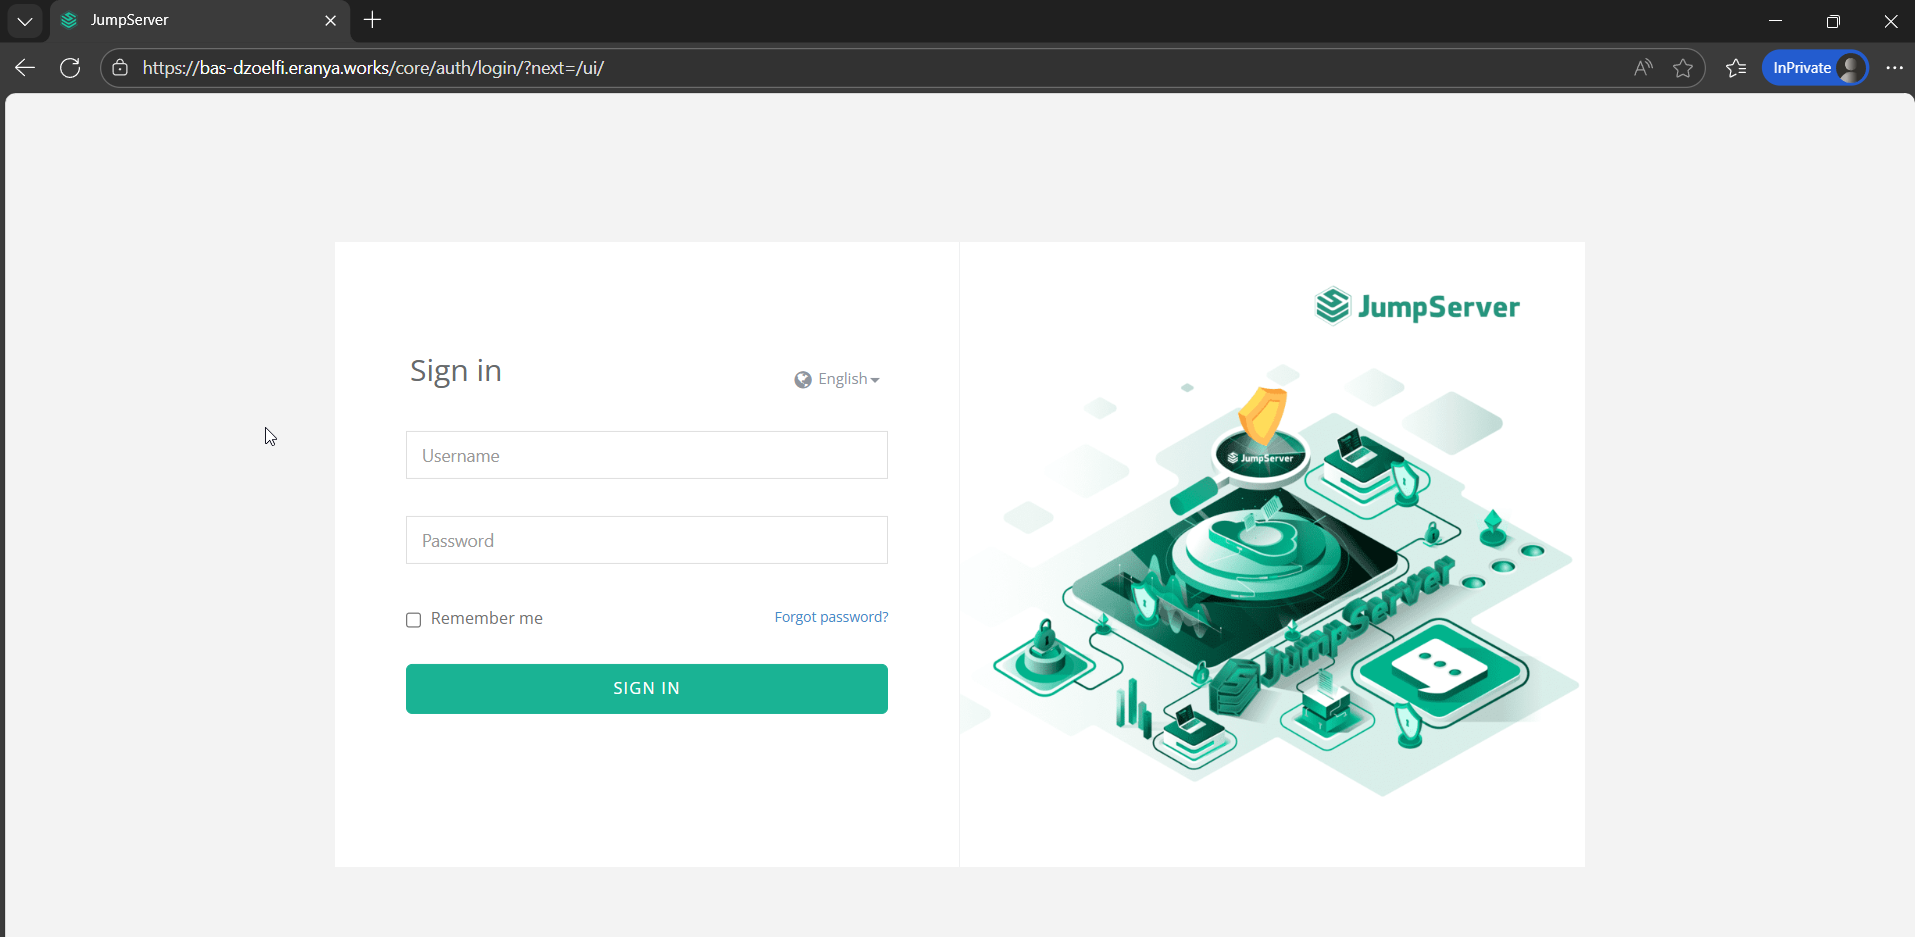
🌐 4. Access Web GUI
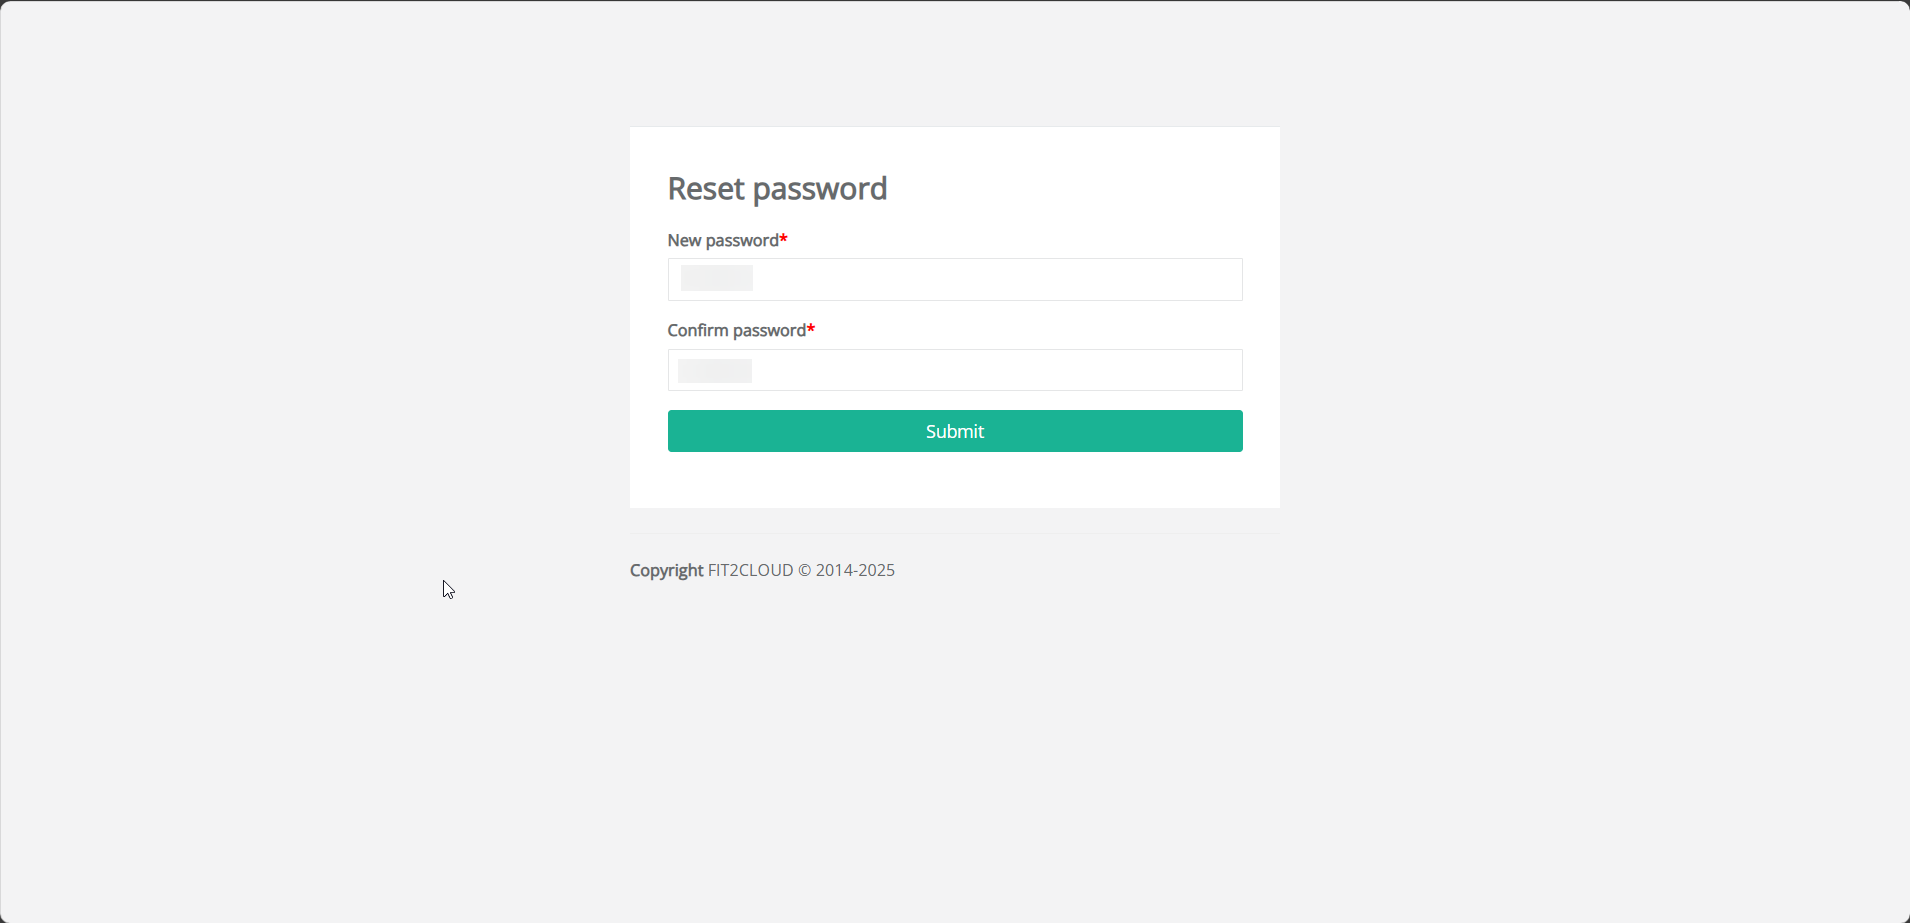
After the installation is complete, open your browser and enter “http://[your-server-ip]” in the address bar and log in as an Administrator using the following default credentials.
Default credentials:
- 👤 Username: admin
- 🔑 Password: ChangeMe

For security, you will be prompted to change your password after logging in. Once you’ve changed it and logged in again, you can start your JumpServer journey.
🔐 Enable HTTPS
By default, one-line command install Jumpserver will running under HTTP only. If you want to use secure and encrypted communication, you can configure Jumpserver to running using HTTPS.
👤 1. Login as Root or Superuser
Log in to the JumpServer deployment server using the “root” or another user with superuser privileges.
📜 2. Place the SSL Certificate
Navigate to /opt/jumpserver/config/nginx/cert and replace the following files:
1
2
- server.crt
- server.key
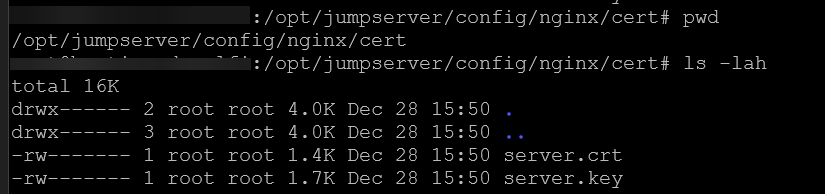
Notes: Make sure the name of the files not changed, only content that replaced.
🛠️ 3. Edit Configuration File
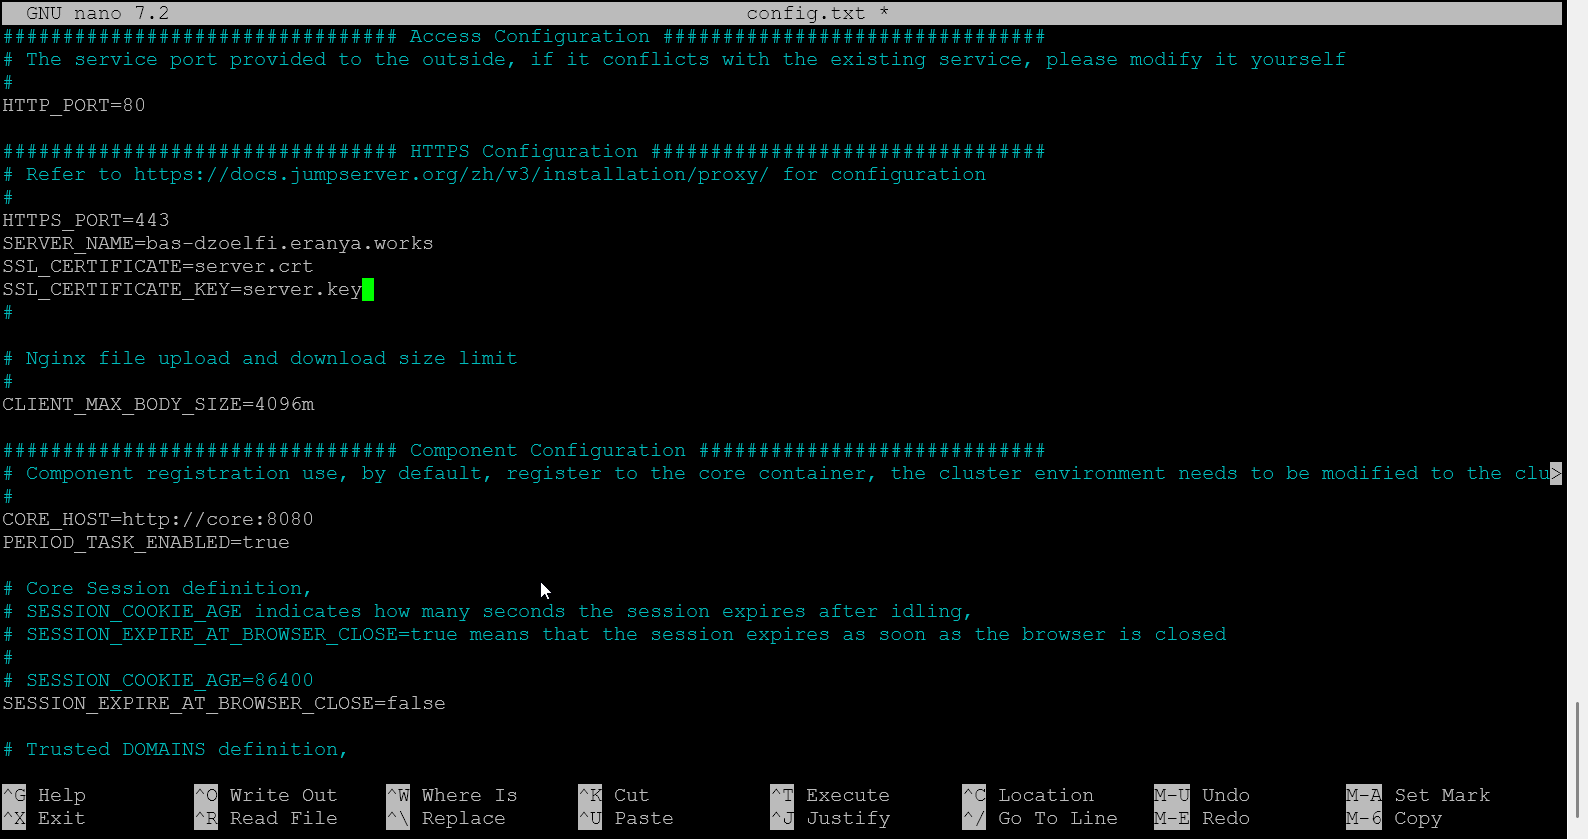
Edit the config.txt file and modify the following configuration settings.
1
nano /opt/jumpserver/config/config.txt
Change “demo.example.com” to your actual domain name.
1
2
3
4
HTTPS_PORT=443
SERVER_NAME=demo.example.com
SSL_CERTIFICATE=server.crt
SSL_CERTIFICATE_KEY=server.key
🔄 4. Restart Jumpserver Service
Restart the Jumpserver service to apply the configuration
1
jmsctl restart

✅ 5. HTTPS Enabled
Now you can access the Jumpserver with HTTPS enable.
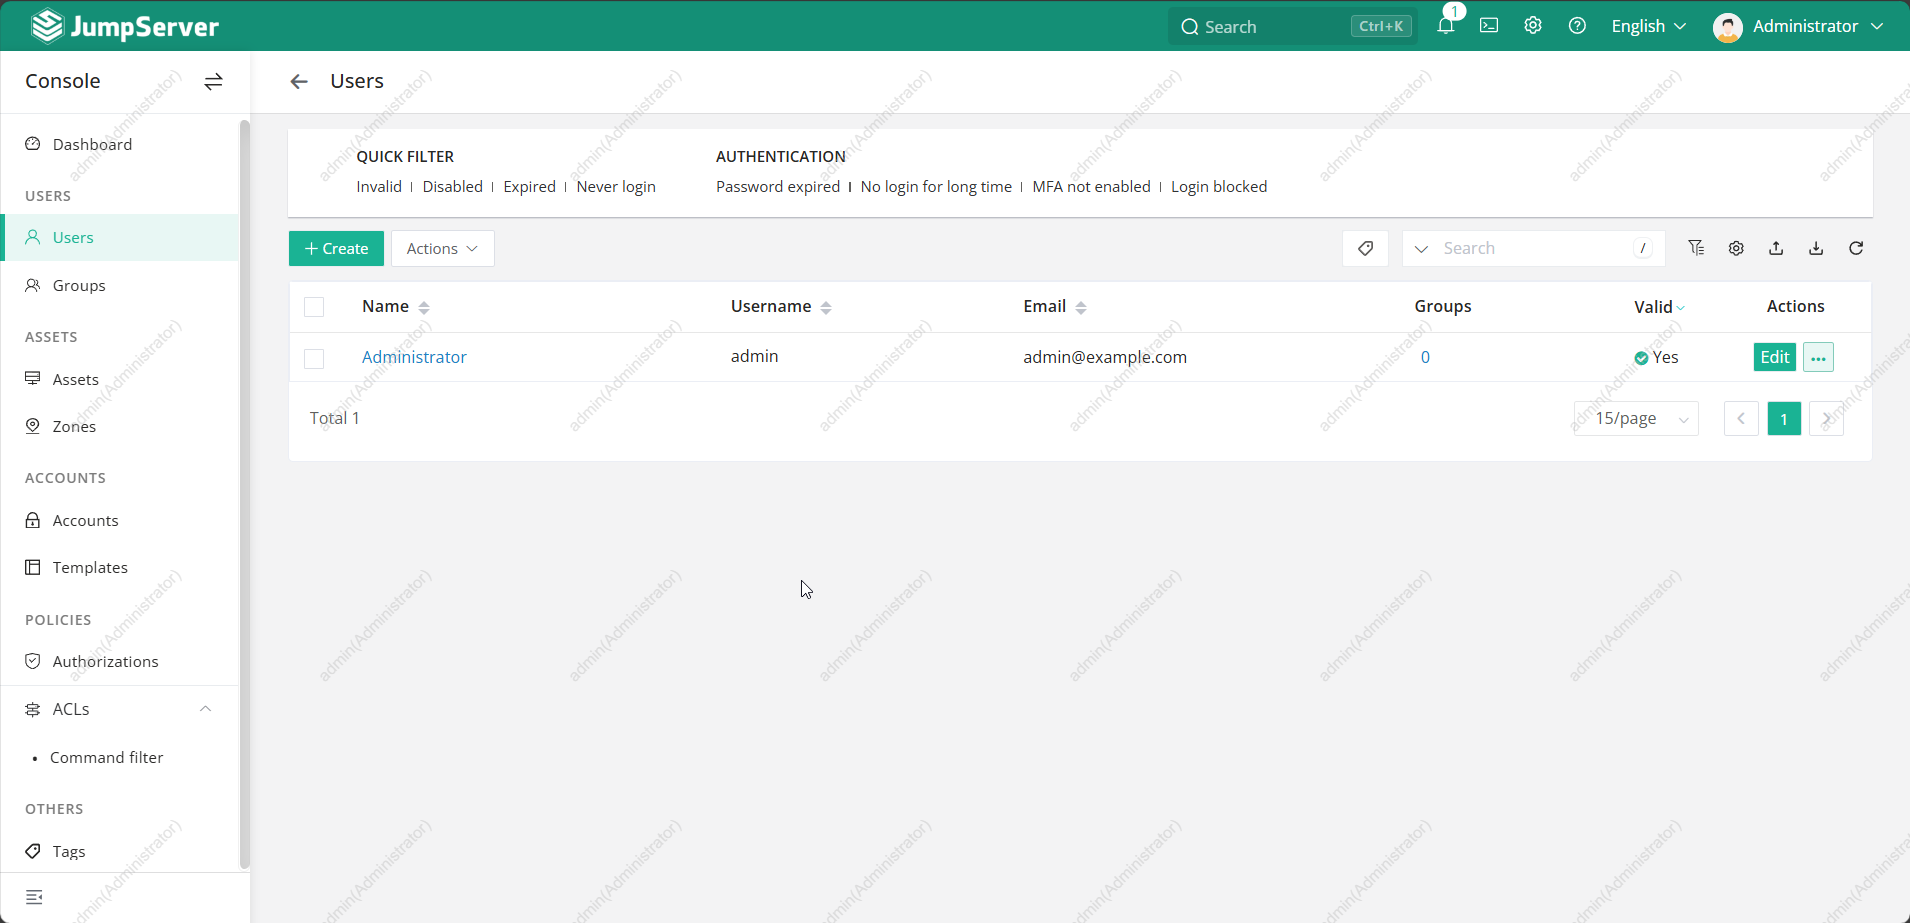
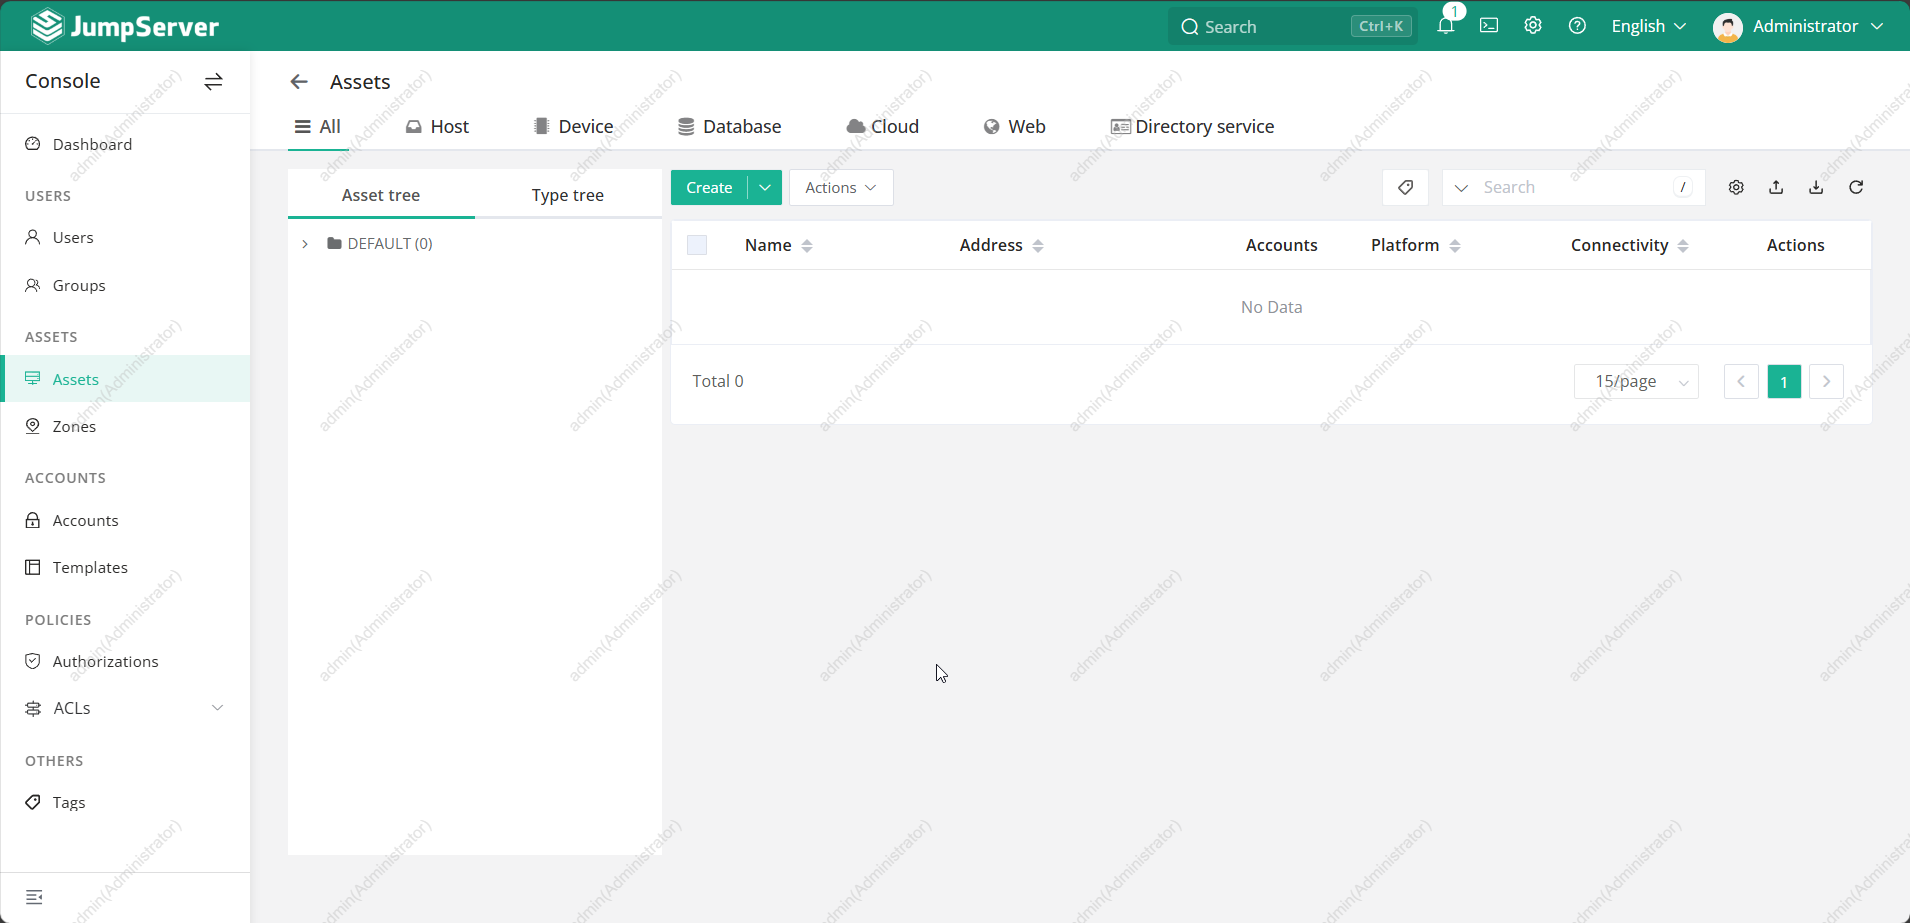
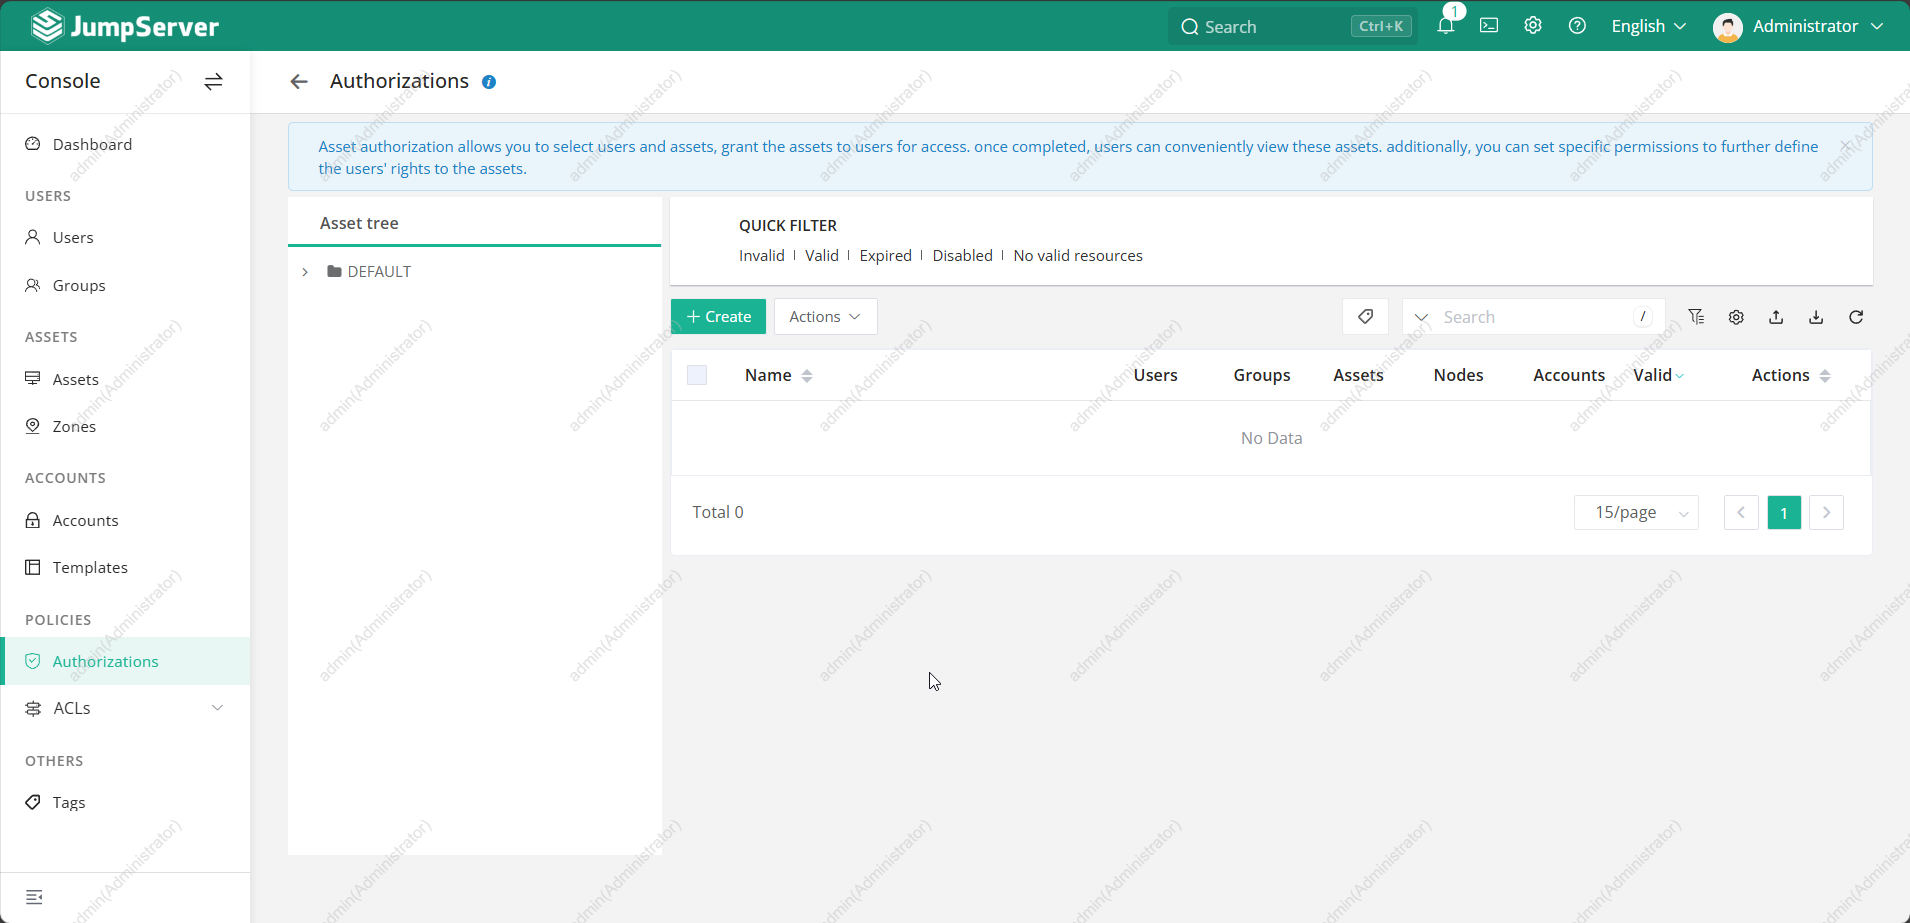
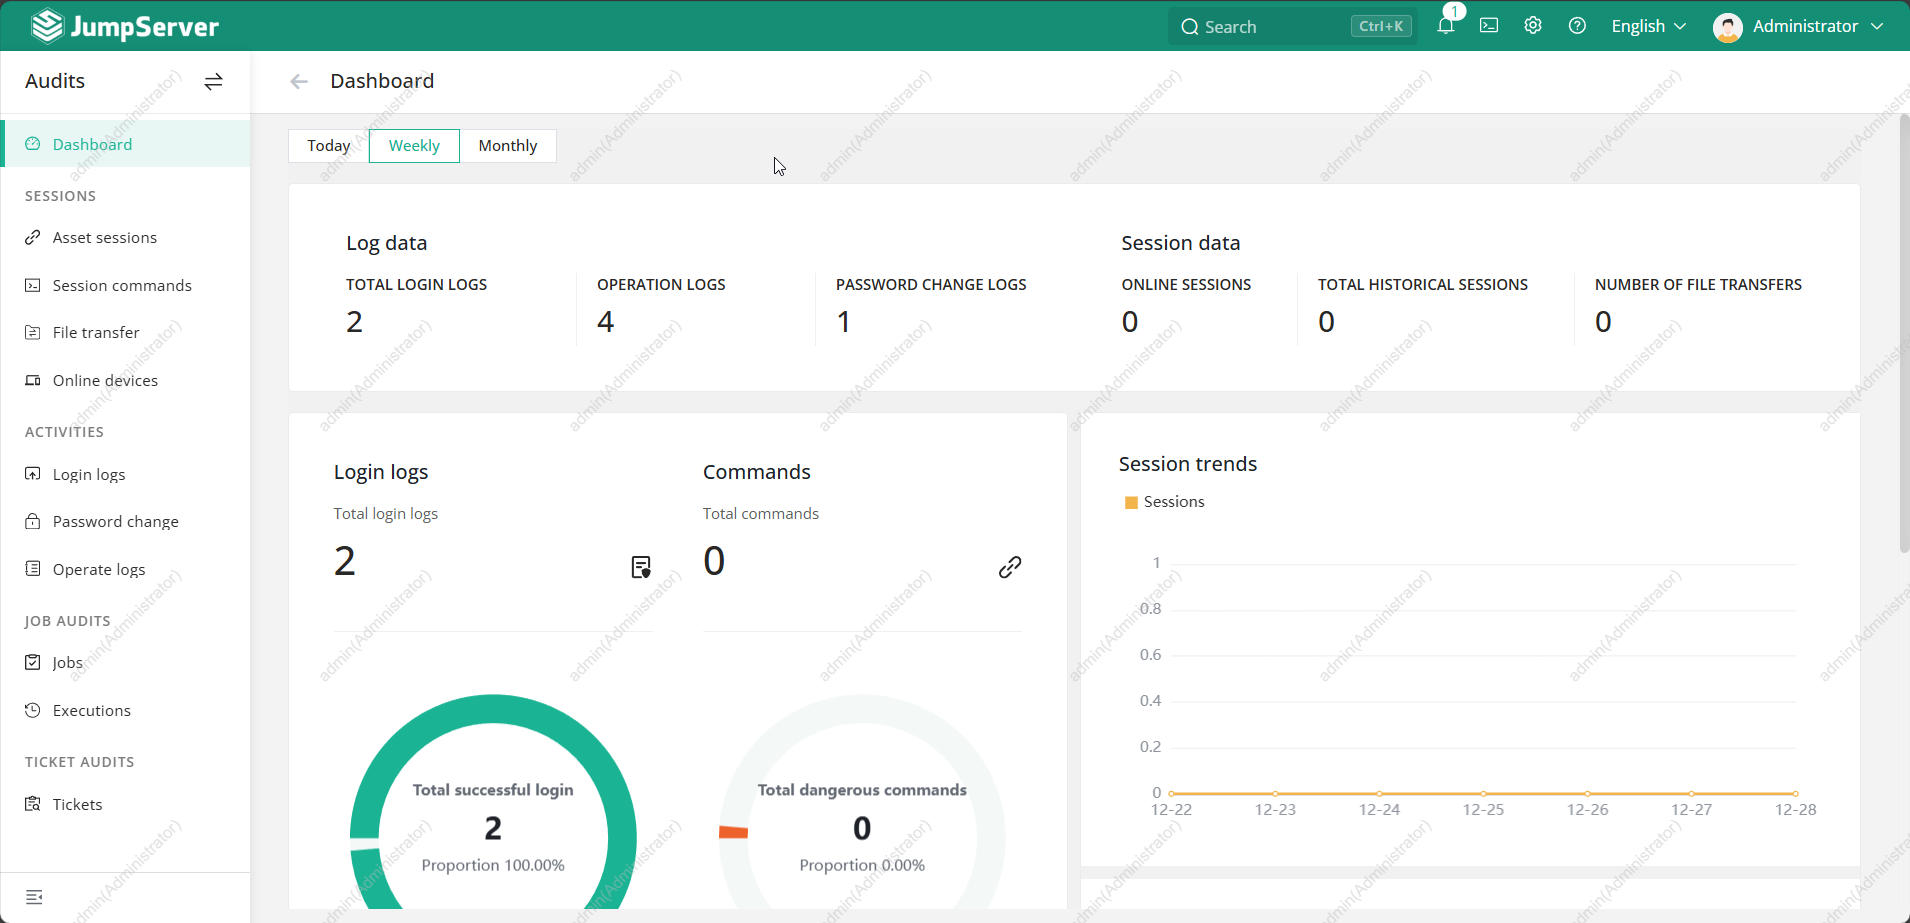
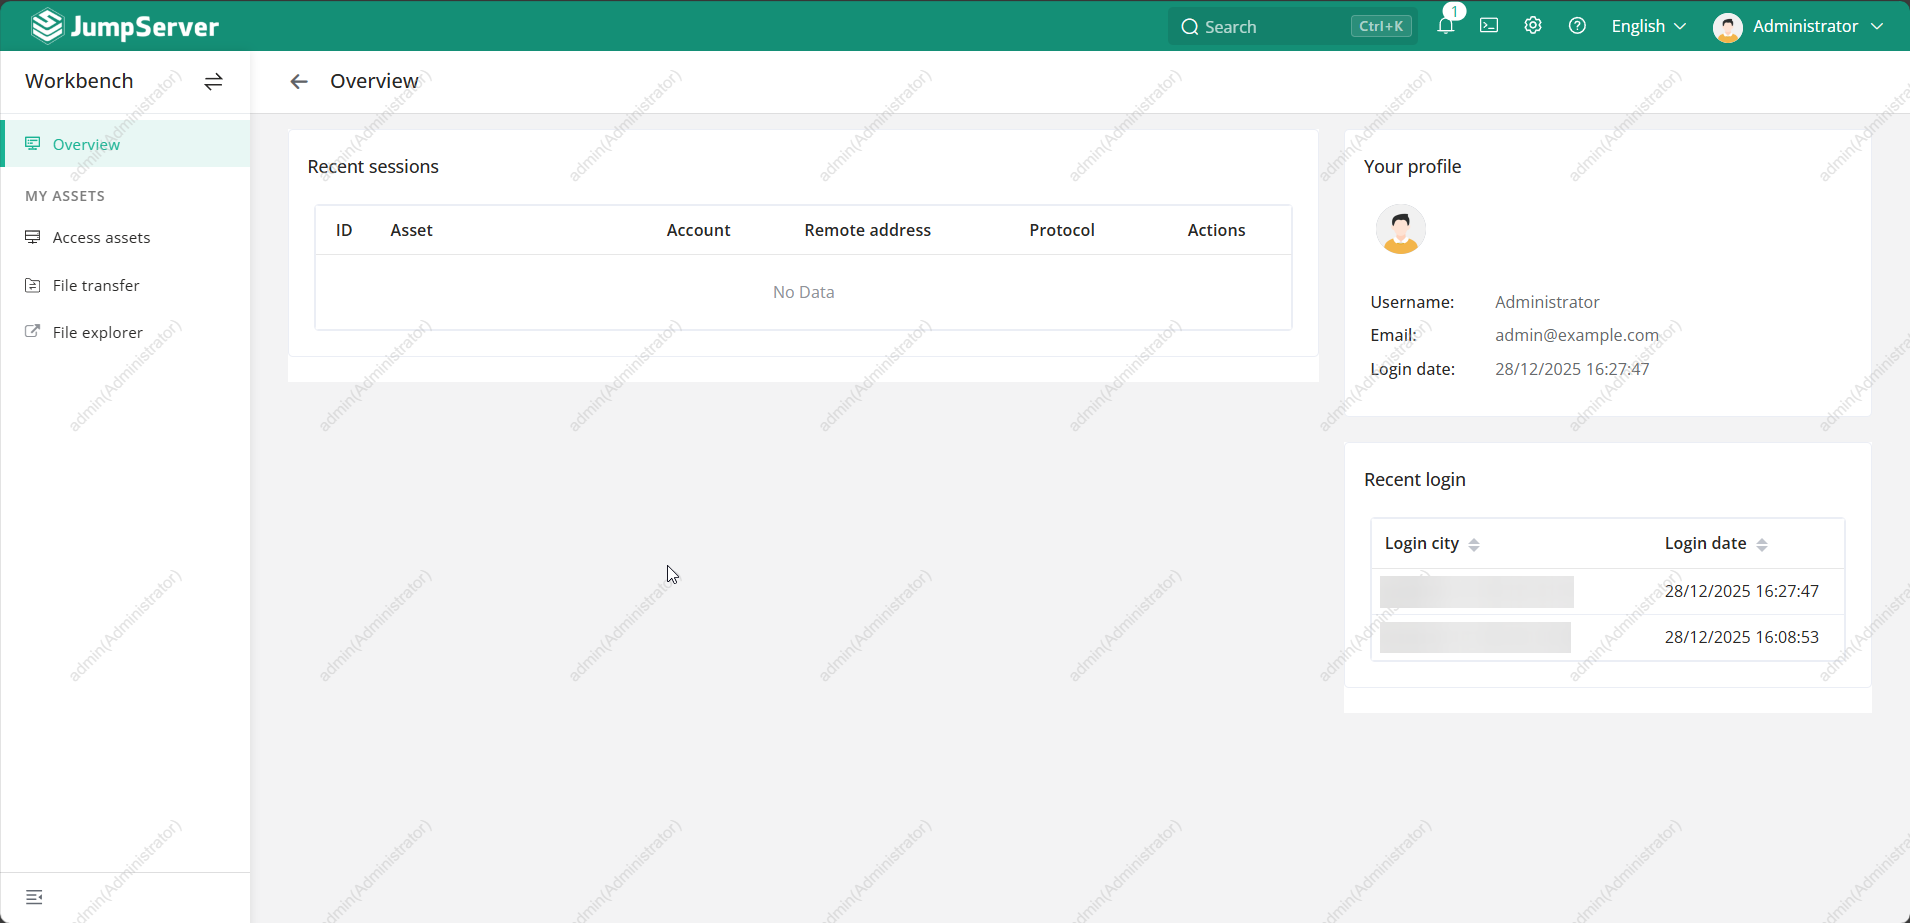
🖥️ Jumpserver Preview
Below is a preview of the Jumpserver interface after successful installation. You can further customize it based on your organization’s needs.

🧾 Summary
You have successfully deployed Jumpserver as a secure bastion server with:
- Centralized access management
- HTTPS-secured web interface
- Audited SSH sessions
- Role-based access control