Blogging with Cloudflare Pages and GitHub Repository
Cloudflare Pages is a fast, secure, and free way to deploy static websites using Git integration. In this tutorial, we’ll walk through how to create a blog using Cloudflare Pages and a GitHub repository as the content source.
🚀 Why Use Cloudflare Pages?
- Free for personal use
- Global CDN powered by Cloudflare
- Automatic builds from GitHub
- SSL and custom domain support
- Perfect for Markdown-based blogs
🧰 Prerequisites
Before we start, make sure you have:
- A GitHub account
- A Cloudflare account
- Git installed on your local machine (optional but useful)
- Basic knowledge of Markdown and Git
1. 📝 Choose Your Blog Framework
You can use any static site generator (SSG) such as:
- Jekyll
- Hugo
- Eleventy (11ty)
- Astro
- Next.js (for more dynamic sites)
For simplicity, we’ll use Jekyll in this tutorial, but the process is similar for other SSGs.
2. 🏗️ Create Your Blog Project
You can either:
Option A: Use a Starter Template
Clone an existing Jekyll blog starter:
1
2
git clone https://github.com/barryclark/jekyll-now.git my-blog
cd my-blog
Option B: Create from Scratch
If you have Ruby and Jekyll installed:
1
2
3
4
gem install jekyll bundler
jekyll new my-blog
cd my-blog
bundle install
Test it locally:
1
bundle exec jekyll serve
Visit http://localhost:4000 to view your blog.
3. 🧑💻 Push to GitHub
Initialize Git and push the project to a GitHub repository:
1
2
3
4
5
git init
git remote add origin https://github.com/yourusername/your-repo-name.git
git add .
git commit -m "Initial blog commit"
git push -u origin main
Make sure your repository is public or set up a Cloudflare Pages token for private repos.
4. 🌐 Deploy with Cloudflare Pages
- Go to your Cloudflare Dashboard
- Click “Compute (Workers)” > “Workers & Pages”
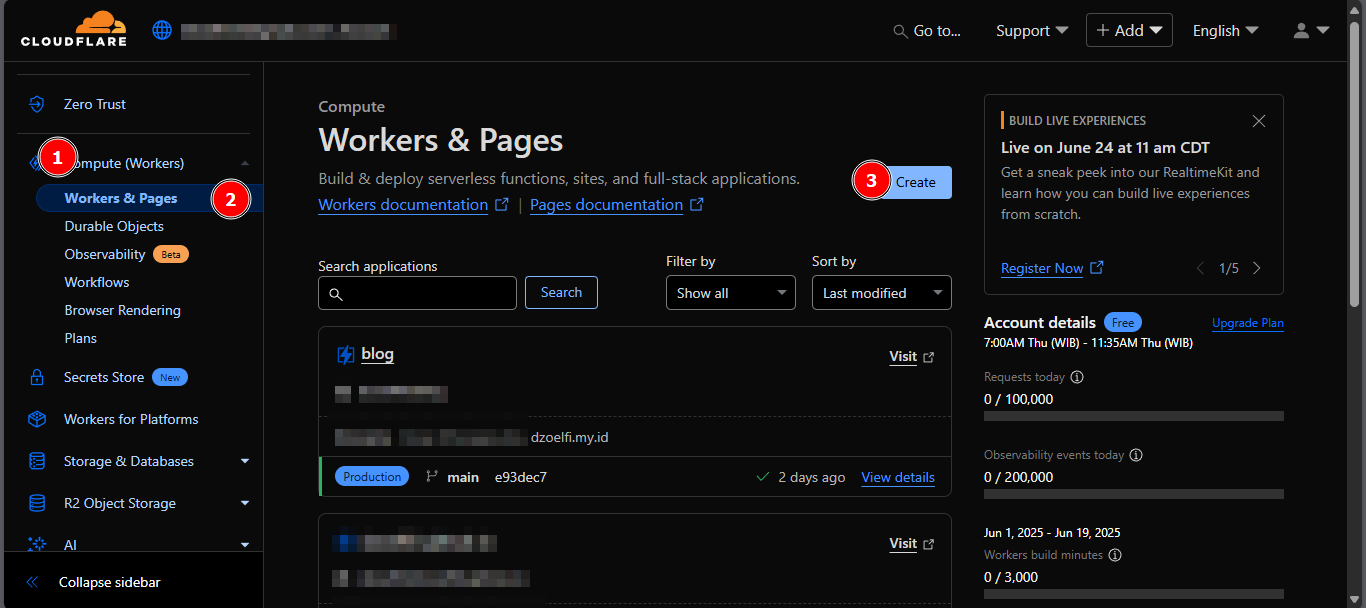
- Click “Create” and choose “Pages”
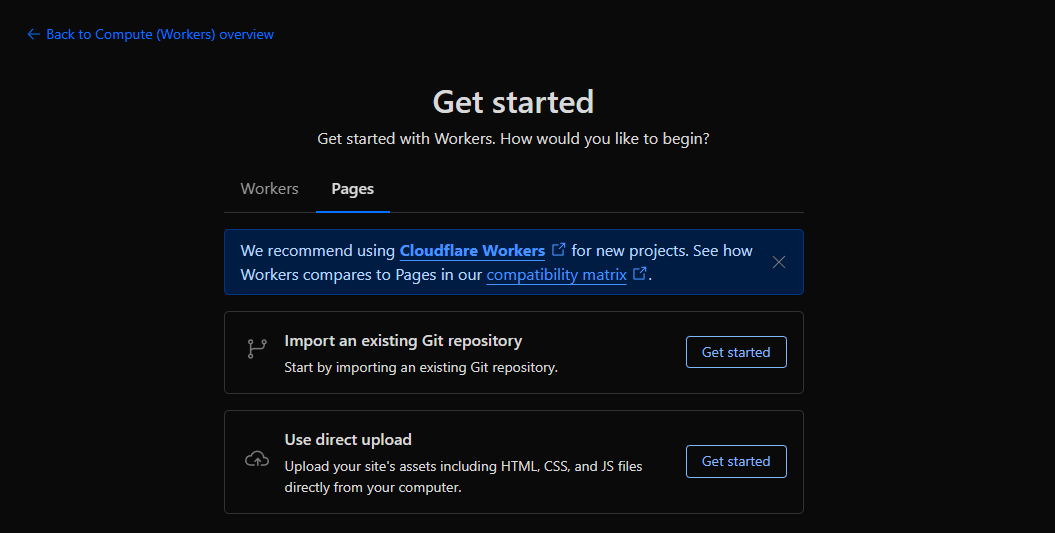
- Click “Get Started” to import Git repository
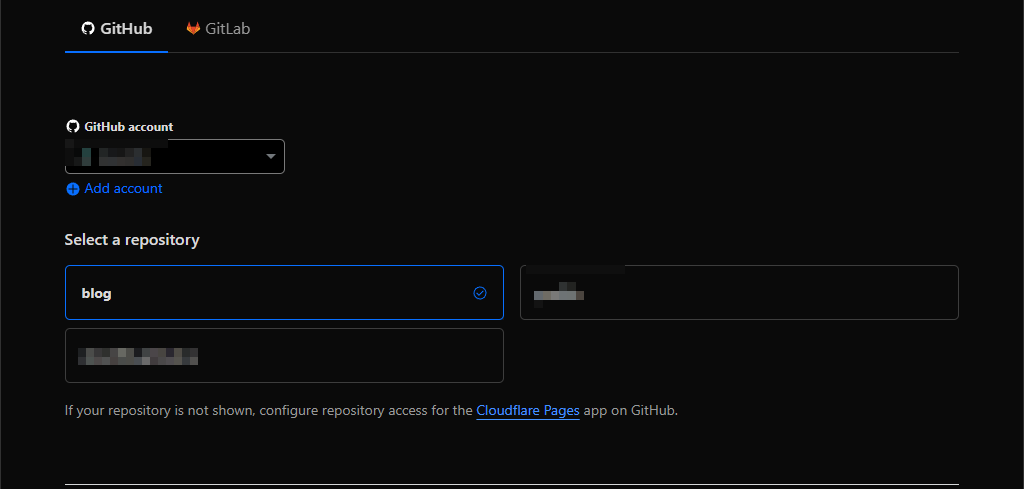
- Connect your account to GitHub account
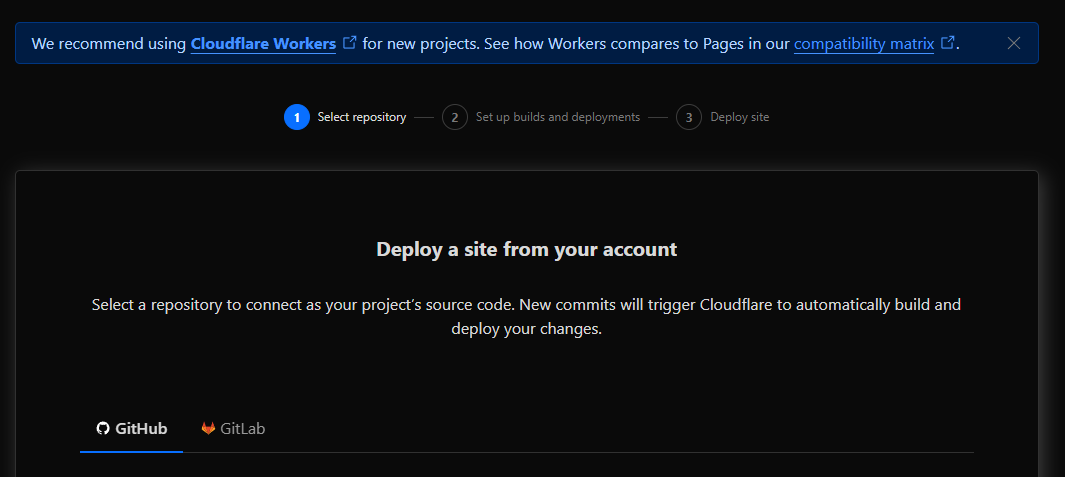
- Select your repository
-
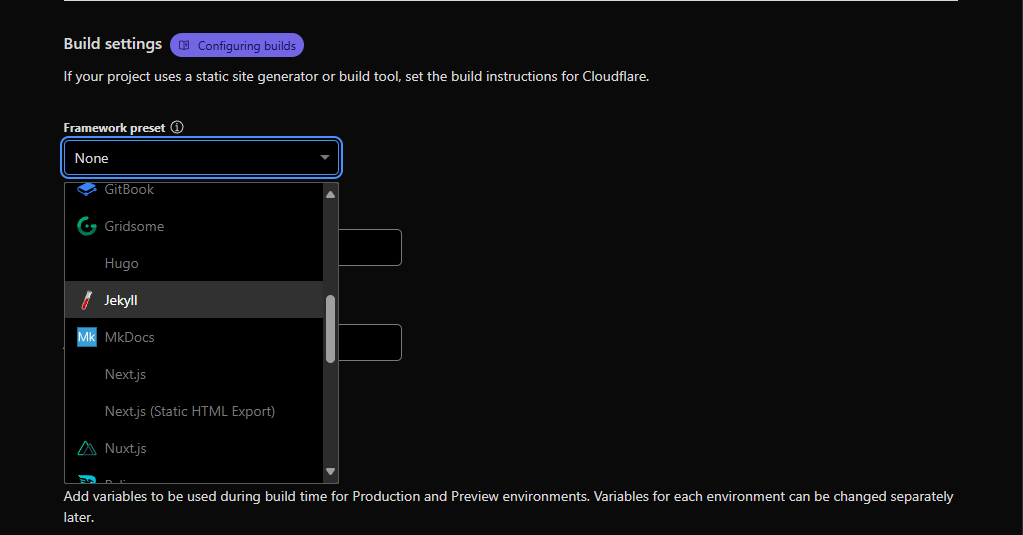
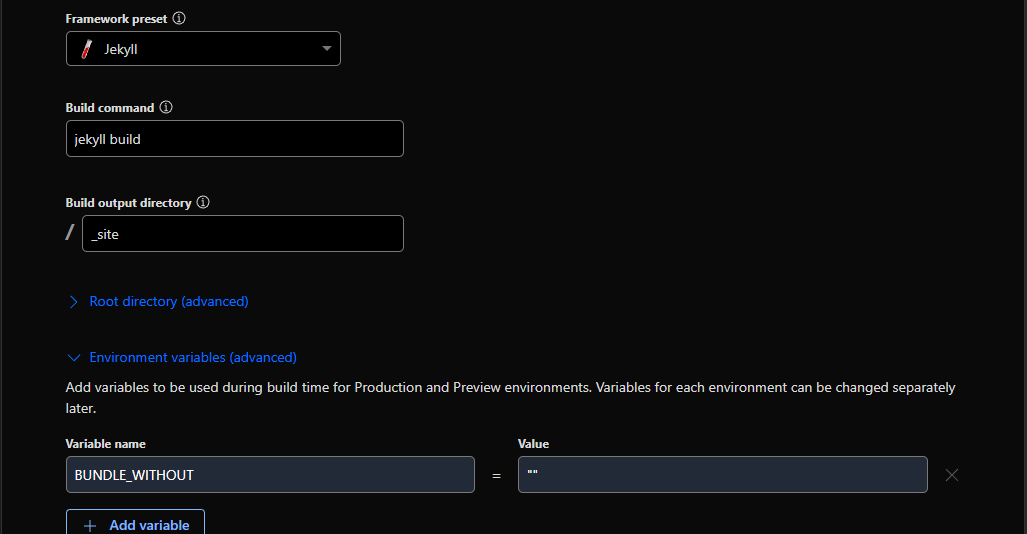
Set build settings:
- Framework preset: Jekyll
- Build command:
jekyll build - Build output directory:
_site - Environment variable:
Variable Name: BUNDLE_WITHOUT, Value: ""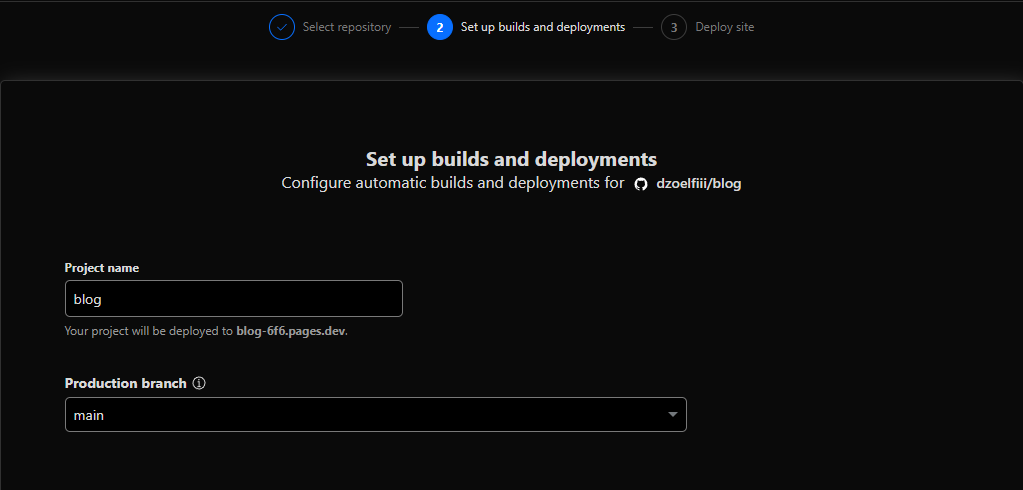
- Click “Save and Deploy”

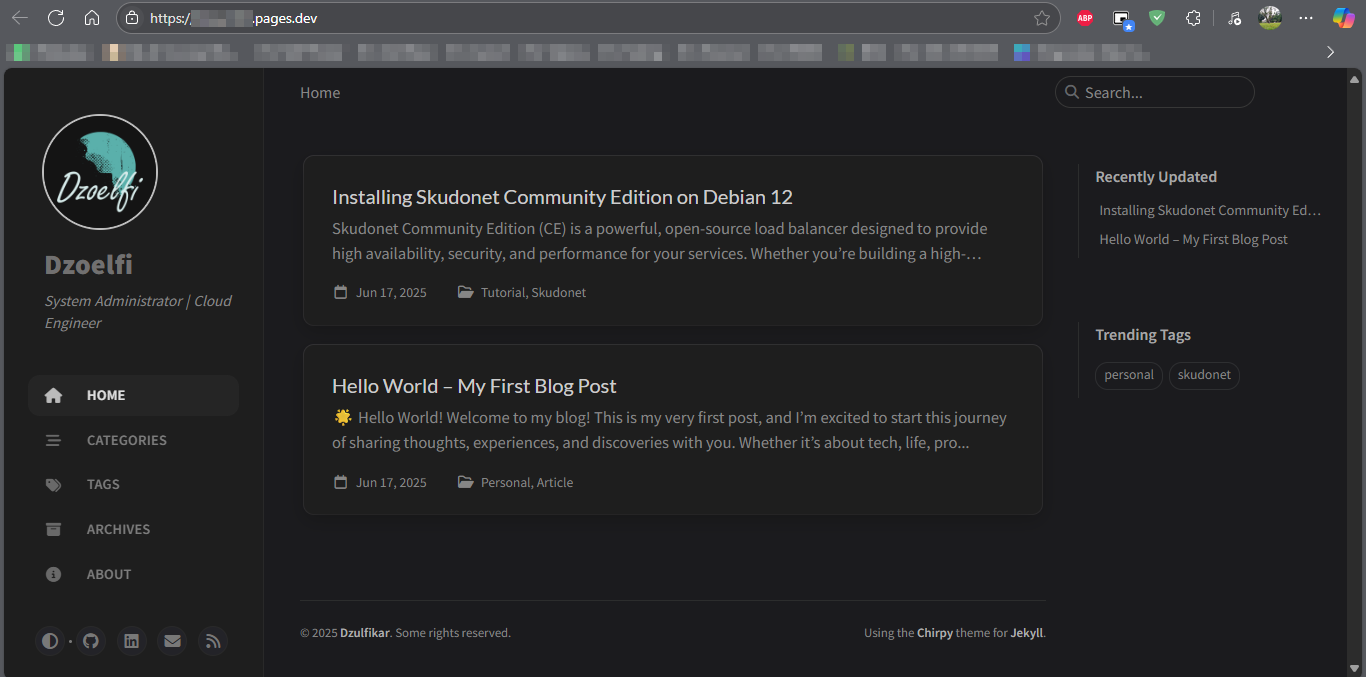
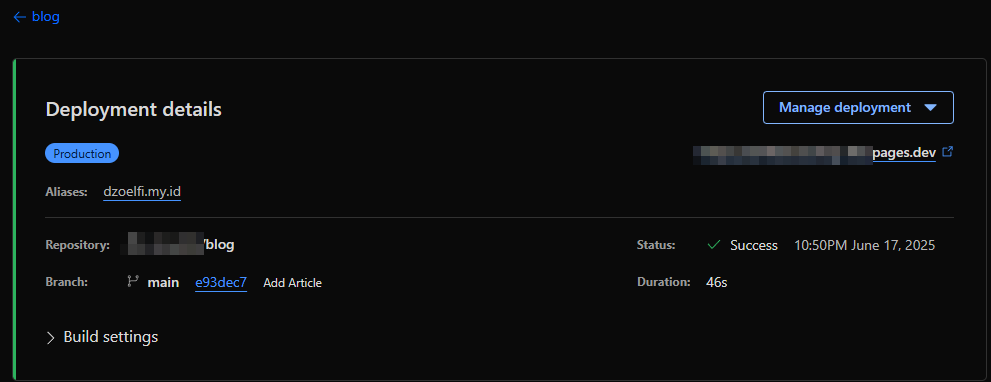
Done! Your blog is now live on a your-project.pages.dev subdomain.
5. 📝 Writing Blog Posts
Add a new post inside _posts folder with this filename format:
1
YYYY-MM-DD-title.md
Example:
1
2
3
4
5
6
7
8
---
layout: post
title: "My First Post"
date: 2025-06-19
categories: blog
---

Hello, world! This is my first post on my Cloudflare Pages blog.
Commit and push to GitHub:
1
2
3
git add _posts/2025-06-19-my-first-post.md
git commit -m "Add first blog post"
git push
Cloudflare will rebuild your site automatically on every commit.
6. 🔗 Add a Custom Domain (Optional)
- Go to your “Workers and Pages” dashboard
- Select your project → Custom Domains
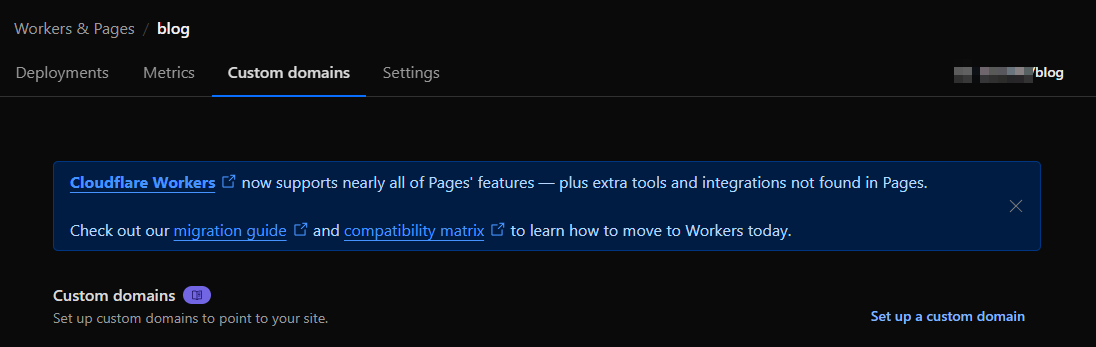
- Add your domain (e.g.,
blog.yoursite.com)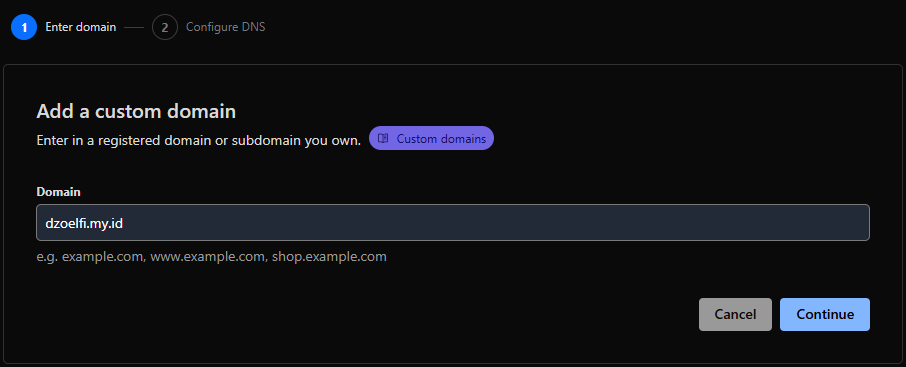
- Follow the DNS setup instructions
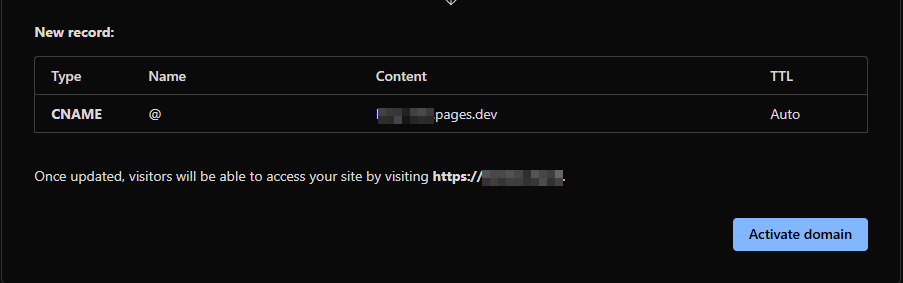

SSL is handled automatically by Cloudflare.
✅ Conclusion
Blogging with Cloudflare Pages and GitHub gives you full control, performance, and no monthly cost. Whether you’re a developer or content creator, this stack lets you publish content easily using Git and Markdown.
Happy blogging! 🚀